There are basically three different ways to approach using your new Central TX Mail account:
- The easiest is to utilize our web mail interface.
- For pre-existing customers, make a few simple changes to your account settings in your current email client(s) such as Outlook, iPhone, etc.
- Set your account up from scratch in a new email client.
Web Mail Interface
Even if you normally use an email client, you should log into the web mail interface occasionally to check your settings, change your password, or a number of other reasons.
If you were previously using the old Promit email system, your new Central TX Mail account was created by importing your old email account. You should find all of your messages, contacts, notes, etc. just as they were on the old email server. Even your login information is the same.
Access your email by going to https://mail.centraltxmail.com to login.
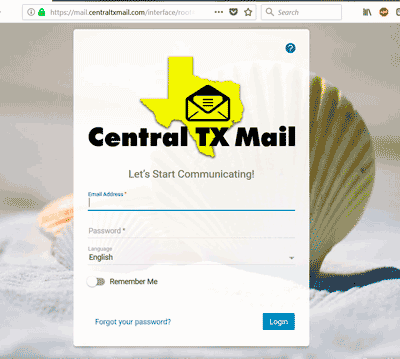 Login screen.
Login with your full email address and the same password you used on the old email system. If you don’t know your password you’ll need to send us a request to reset it. We can no longer lookup your password if you forget it.
Depending on whether your account is new or was imported from the old system, and whether you have previously logged into the web mail interface or not, you might see the Location Settings screen. This is typically only shown the first time you log into your account.
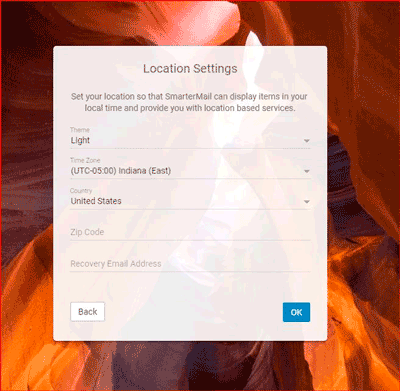 Location Setting screen.
- Theme: Choose whichever you like...Light or Dark.
- Time Zone: It is important that your Time Zone is correct. For most of our customers this will be (UTC-06:00) Central Time
- Country: Leave at default United States
- Zip Code: Optional. Here for future use; serves no real purpose at this time.
- Recovery Mail Address: The most important setting on this screen. Use an email address that is not hosted by Central TX Mail. DO NOT use the same email address you logged in with. More information about Recovery Email Addresses.
When finished click the OK button.
Change Settings in Current Email Client
To access your account through just about any existing email client, such as Outlook or your phone, the only necessary thing to change is the name of the mail server to mail.centraltxmail.com. This appears in two places in your account settings, one for incoming mail and one for outgoing. Your old account used a variation of your domain name, so if your domain name is mydomain.com then your incoming and outgoing servers were mail.mydomain.com. Now everyone will use mail.centraltxmail.com for both incoming and outgoing.
This change alone should enable your email client to function correctly with your new Central TX Mail account. If you don’t use an email client or can’t get it configured, access your email by going to https://mail.centraltxmail.com to login.
Setup Account in New Email Client
When you consider all the different computers, notepads, smart phones and more that have been sold in the past 20 years, as well as the different operating systems, versions of software and various email protocols, there are easily more than 100 possible email client configuration steps. It would be impossible to cover them all here.
In most modern day clients there are only a few things you have to know in order to connect to an email account:
- Your email address
- Your account password
- Your email hostname (which is mail.centraltxmail.com).
- Sometimes you must know the ports for your email protocols (110 for POP, 587 for SMTP, 143 for IMAP).
From there it’s only a matter of knowing where to find the settings on your client. This can often be learned from the merchant where you purchased your equipment and can almost always be found by searching on Google. Try it…go to Google and search for "Set up my email on ________" and fill in the blank with the name of your phone or your email software.
For more information about setting up and syncing mail clients refer to the Knowledge Base section Set-Up: Desktop and Mobile Synchronization.